Common Quilting Mistakes: How to Avoid Wavy Borders and Uneven Stitches
Quilting is forgiving, but it is not forgetful. A seam allowance that drifts by a millimetre here, a border that is eased on with hope rather than measurement, and a quilt that is dragged through the machine rather than supported—these small decisions add up. The result is usually the same: wavy borders, uneven stitches, and a finished quilt that will not lie flat. The good news is that most of these problems are prevented long before the binding goes on.
Why Wavy Borders Happen
Wavy borders are almost always a measuring problem. If a border strip is cut longer than the quilt edge and then sewn on, the extra fabric has to go somewhere. It ripples. The same happens if the quilt top edge has been stretched during piecing or pressing, because the border is then sewn to a moving target.
Before adding borders, square up the quilt centre. Measure the quilt top through the middle, not along the outside edges, which are more likely to be stretched. Measure in three places, take the average, and cut the border to that length. Mark the centre of the quilt edge and the centre of the border. Pin at both ends, then at the centre, then fill in the gaps. Sew with the border against the feed dogs if you need a little help easing, but do not rely on easing to correct a strip that is simply too long.
Handle bias edges gently. A quilt top with lots of triangles or curved piecing can stretch just by being lifted. Staystitch the outer edge if it feels unstable, and store the top rolled rather than folded while you prepare the borders.
Piecing Mistakes That Add Bulk
Most piecing problems start with seam allowance. A scant quarter-inch seam is the standard for many quilt patterns because it allows for the thickness of thread and the fold of the fabric when pressed. If your seam is too wide, units shrink. If it is too narrow, units grow. Either way, blocks that should fit together start to fight.
Do not assume the edge of your presser foot is a quarter inch. Sew a test pair of strips, press, and measure. Adjust your needle position or use a guide. Check units as you go rather than waiting until the whole quilt top is assembled. A block that is slightly off can often be trimmed or resewn; twenty blocks that are off will create a top that cannot be squared.
When joining seams, nest them where possible. Press seam allowances in opposite directions so the bulk sits beside itself rather than on top. Pin at the intersections, but use fine pins and remove them as you sew. Chunky pins can push the fabric out of alignment.
Pressing, Not Ironing
Pressing and ironing are not the same thing. Ironing means sliding the iron across the fabric. Pressing means setting the iron down, letting the heat do the work, and lifting it again. Sliding can stretch bias seams, distort blocks, and create wavy edges before you have even reached the border stage.
Press each seam as you sew it. First, press the seam closed to set the stitches. Then press it to one side or open, depending on the pattern. For dark fabrics, press from the right side carefully or use a pressing cloth. If a seam is stubborn, let it cool before you move it. Fabric that is pressed while hot can be stretched; fabric that is pressed and left to cool keeps its shape.
A little spray starch can help stabilise bias edges and keep small pieces crisp, but test it on a scrap first. Too much starch can flake or make the fabric stiff. The aim is flat, not brittle.
Uneven Stitches: Machine Setup and Technique
Uneven stitches are rarely a mystery. They usually come from one of four places: the needle, the thread, the tension, or the way the quilt is moved through the machine.
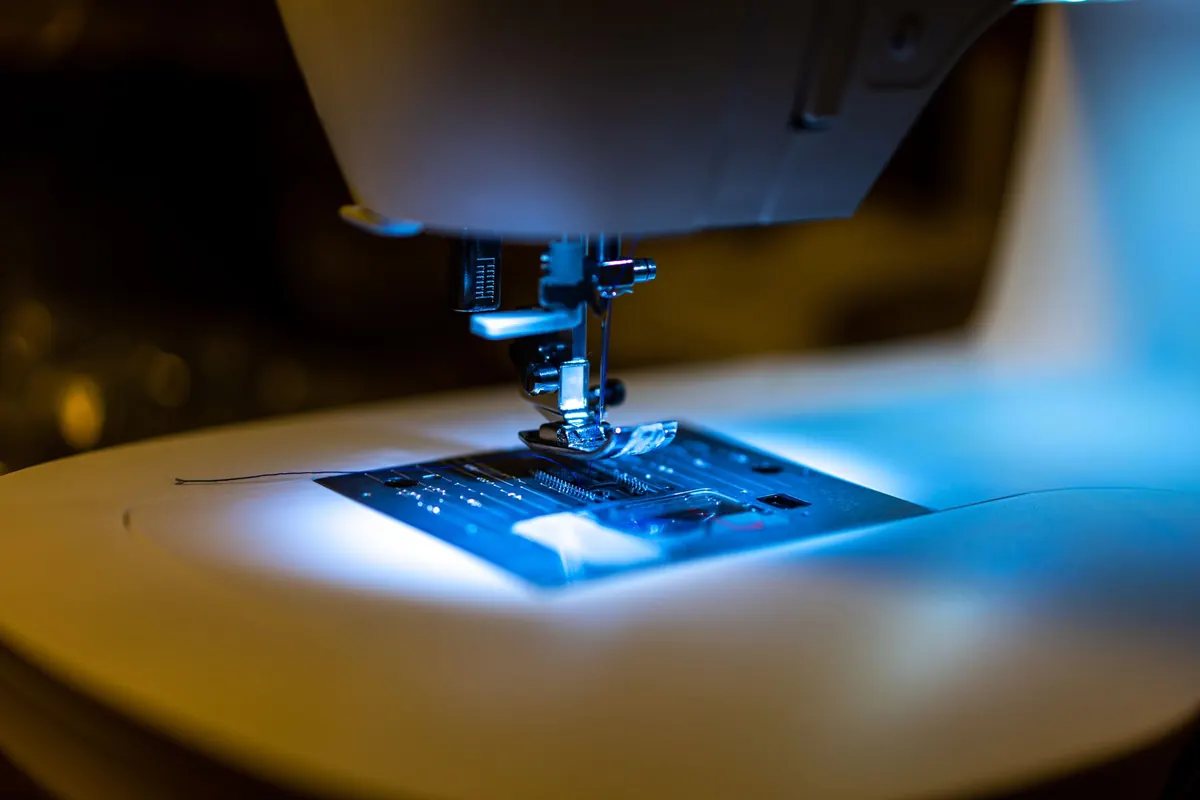
Start with a fresh needle. A blunt or wrong-sized needle can skip stitches and make a popping sound as it pushes through the fabric. Match the needle to the fabric and wadding: a sharp needle for cotton, a quilting needle for thicker layers. Use good-quality thread that is suited to machine quilting, and make sure the bobbin is wound evenly and inserted correctly.
Test the tension on a scrap sandwich made from the same fabrics and wadding as your quilt. The top and bobbin threads should meet in the middle, with no loops on either side. If the top thread shows on the back, or the bobbin thread pulls to the front, adjust the top tension in small steps.
Stitch length matters too. For piecing, many quilters use a stitch length of around 2.0 to 2.5 mm. For machine quilting, a slightly longer stitch, often 2.5 to 3.5 mm, gives a smoother line and less thread breakage. Write down what works on your machine so you do not have to guess next time.
Finally, support the quilt. The weight of a large quilt can pull against the needle, causing uneven stitches and tired shoulders. Use a large table, an extension table, and roll the quilt rather than letting it hang. Do not pull the fabric through the machine; guide it. Let the feed dogs move the layers at their own pace. Slow, steady speed usually gives better control than racing.
Basting and Quilting Without Shifts
Poor basting is a hidden cause of wavy borders and uneven stitches. If the backing is loose, the wadding shifts, or the quilt top is stretched during layering, the quilting will show it. The quilt may look flat on the table and then pucker after the first wash.
Lay the backing flat and tape it down without stretching it. Add the wadding gently, then the quilt top. Smooth each layer from the centre outwards. Use your preferred basting method—spray, pins, or thread—but be consistent. If you use pins, place them no more than a hand’s width apart and avoid pinning through the same spot twice.
Quilt from the centre outwards. This pushes excess fullness to the edges rather than trapping it in the middle. Change direction regularly to prevent the quilt from skewing. If you are quilting on a domestic machine, roll the sides and support the bulk. Stop every so often to check the backing for pleats. It is much easier to fix a small pleat early than to unpick a whole row of quilting later.
A Simple Prevention Routine
Most of the advice above comes down to a handful of habits. Before you start a new project, run through this list:
- Sew a test seam and measure the seam allowance.
- Press every seam as you go, lifting the iron rather than sliding it.
- Square up blocks and the quilt centre before adding borders.
- Measure borders through the middle of the quilt, not along the stretched edges.
- Baste carefully and keep all three layers smooth.
- Support the quilt’s weight and let the
Photo: ze k / Pexels
Sewing with UK Charity Shop Finds: A Checklist for Upcycling Second-Hand Fabric
How to source, wash, unpick and store second-hand clothes and textiles from UK charity shops so they...
PDF Sewing Patterns vs Paper Patterns: Which Is Better for UK Sewists?
Weigh up cost, printing, storage, sizing and ease of use to decide whether PDF or paper sewing patterns...
About Us