Common Sewing Machine Mistakes Beginners Make (and How to Fix Them)
The machine was sewing perfectly a minute ago. Now there's a knot of thread bunched under the fabric, the needle is knocking like a tiny hammer, and you're starting to wonder whether sewing machines simply hate you.
They don't. Almost every problem a beginner runs into comes back to one of four things: the needle, the threading, the bobbin, or the tension. Learn what each symptom is telling you, and you can sort it out in a couple of minutes instead of unpicking your whole afternoon.
Thread Nests Under the Fabric
Loops of thread bunched on the underside — a bird's nest — is the complaint I hear most often, and it is nearly always a threading problem rather than a broken machine.
The usual culprit is threading with the presser foot down. The tension discs only open when the foot is raised, so the thread sits on top of them instead of slipping between them, then runs slack all the way to the needle.
Other things worth checking:
- Thread that has missed the take-up lever, the hook that moves up and down at the front of the machine.
- A bobbin in the wrong way round, so it unwinds against the direction of the machine. Look for the arrow on the bobbin case.
- A bobbin case that hasn't clicked into position, or a drop-in bobbin placed without its thread feeding through the slot.
- Loose thread tails at the start of a seam, which get dragged underneath.
Raise the needle and the presser foot, unthread from the spool, and start again. Hold both tails behind the needle for the first few stitches, then let go.
If you've rethreaded correctly and the nest still appears, inspect the bobbin more closely. A bobbin wound unevenly, or wound with a different thread than the top, will never give you a clean stitch. Use the same thread in the bobbin as in the needle, and wind it at a steady speed rather than filling it as fast as the machine will go. In a front-loading bobbin case, the thread should unwind in the direction of the arrow. In a drop-in bobbin, the thread usually needs to pass through a slot and under a spring. If you skip that step, the bobbin thread will pull freely and create a tangle.
Also remember that lint is not harmless. A fuzzy nest under the bobbin can lift it out of position and ruin your tension. Remove the bobbin case and brush out the lint every few projects. If the nest appears only at the very beginning of a seam, the problem is often just those loose tails. Hold them gently behind the needle for the first three or four stitches, and the machine will lock the seam without dragging them under.
Skipped Stitches
A skipped stitch is one the machine dropped: three neat stitches, then a gap, then three more. It is rarely random.
Check the needle first. A bent needle, or one that hasn't been pushed right up into the clamp, sits too far from the hook that forms the stitch and the hook misses the loop of thread. Push the needle up as far as it will go, then tighten the screw. If the needle is bent, blunted, or has a burr on the tip, replace it. A fresh needle costs less than a yard of good fabric.
Needle type matters too. A universal needle is a compromise, not a magic wand. Sewing knit fabric with a sharp needle can cause skipped stitches because the needle punches through the fibers instead of slipping between them. Switch to a ballpoint or stretch needle for knits, a denim needle for heavy canvas, and a microtex needle for fine cottons and batiks. The size printed on the package — 70/10, 80/12, 90/14 — needs to match the fabric and thread. Too fine a needle bends under thick fabric; too thick a needle leaves holes in delicate cloth.
Other skipped-stitch suspects include a thread that is too thick for the needle's eye, a bobbin that is not seated properly, and fabric that is being pulled or pushed through the machine. Let the feed dogs move the fabric. Your hands should guide, not drag. If the skipped stitches happen only on thick seams, try reducing the speed and using a walking foot. If they happen only on stretchy fabric, a little stabilizer under the seam can make all the difference.
One more quick test: sew a line of stitches on a scrap of the same fabric with a brand-new needle. If the skips disappear, the old needle was the problem. If they don't, change the needle type before you touch the tension.
Tension Troubles: Loops, Knots, and Tangles
Tension is the tug-of-war between the upper thread and the bobbin thread. When they are balanced, the knot between them sits inside the fabric. When they are not, you see loops on one side or the other.
Here's a quick diagnosis:
- Loops on the underside: the upper tension is too loose, or the thread isn't seated in the tension discs.
- Loops on the top: the upper tension is too tight, or the bobbin thread is too loose.
- Both sides loopy: the machine is usually threaded wrong, or the bobbin is in backwards.
Adjust the top tension dial one number at a time, sewing a test seam on a scrap of the same fabric after each change. If nothing improves, rethread the top and bottom before you touch the bobbin screw. Bobbin tension is delicate, and most beginners should leave it alone unless they have a separate bobbin case for a specific technique.
If you're not sure whether the problem is top or bottom, thread the bobbin with a different color. The color that shows up where it shouldn't tells you which side to fix.
Thread quality matters, too. Cheap thread sheds lint, breaks easily, and varies in thickness. If your machine has been serviced and the needle is new, but the tension still misbehaves, try a different spool before you assume the machine is broken. And if your stitches look fine on one layer but loopy on two, the extra thickness may be changing the tension. Test on the actual fabric you plan to sew, not on a thin scrap you grabbed from the bin.
A Five-Minute Reset Routine
When something goes wrong, resist the urge to adjust every dial at once. Instead, work through this order:
- Raise the needle and presser foot.
- Unthread the top of the machine completely, from spool to needle.
- Remove the bobbin, check the direction and the slot, and reinsert it.
- Rethread the top, making sure the thread passes through every guide and the take-up lever.
- Put in a fresh needle, pushed up as far as it will go.
- Set the tension to its middle position and sew a test seam on scrap fabric.
- Adjust only one thing at a time until the stitch looks right.
This routine fixes the vast majority of beginner problems because it removes the most common causes before you start diagnosing anything exotic. If the machine still acts up, check that it is plugged in fully, that the bobbin winder is disengaged, and that the presser foot is down when you sew. Those sound obvious, but they catch more sewists than you'd think.
Some problems are not user error. If the machine makes a grinding noise, the needle hits the plate, the handwheel won't turn, or the power flickers, stop sewing and unplug it. Those are signs of a timing problem, a jammed mechanism, or an electrical fault. A local repair shop can sort them out without you risking your fingers or your machine.
For everything else, remember that sewing machines are literal. They do exactly what the thread path, needle, and tension tell them to do. Once you learn to read the symptoms, a bird's nest or a skipped stitch stops being a mystery. It becomes a two-minute correction — and you can get back to the part you actually enjoy.
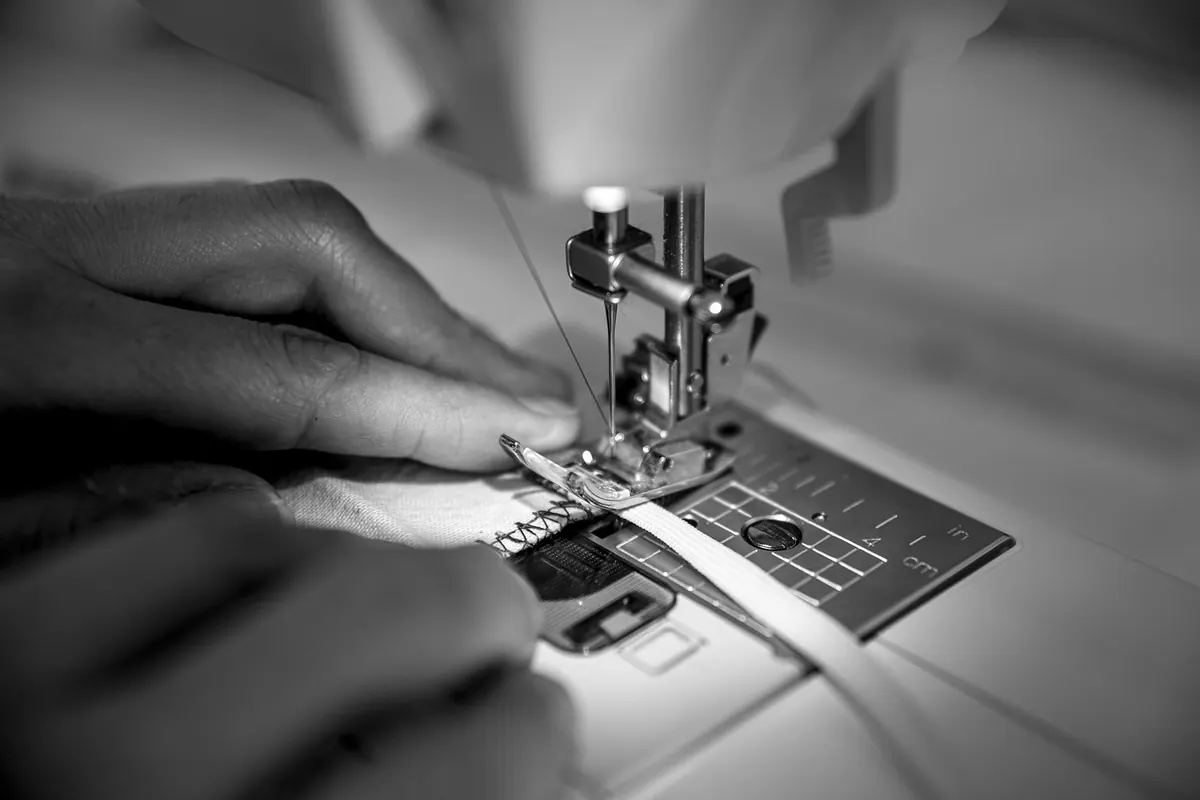
Photo: CJMM / Pixabay
Sewing with UK Charity Shop Finds: A Checklist for Upcycling Second-Hand Fabric
How to source, wash, unpick and store second-hand clothes and textiles from UK charity shops so they...
PDF Sewing Patterns vs Paper Patterns: Which Is Better for UK Sewists?
Weigh up cost, printing, storage, sizing and ease of use to decide whether PDF or paper sewing patterns...
About Us